Site home Blog 1688 Sourcing Agent
Buying notes Practical tutorials for quote requests, specification checks, receiving and shipping.
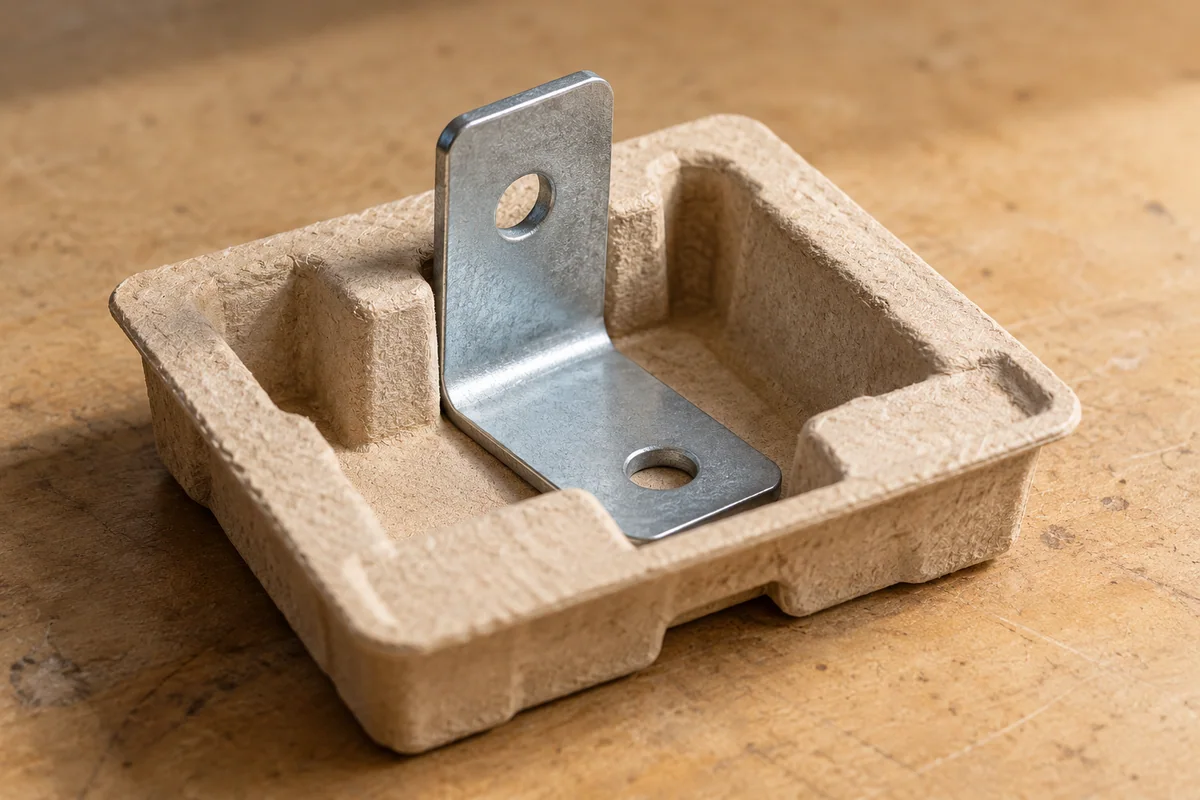
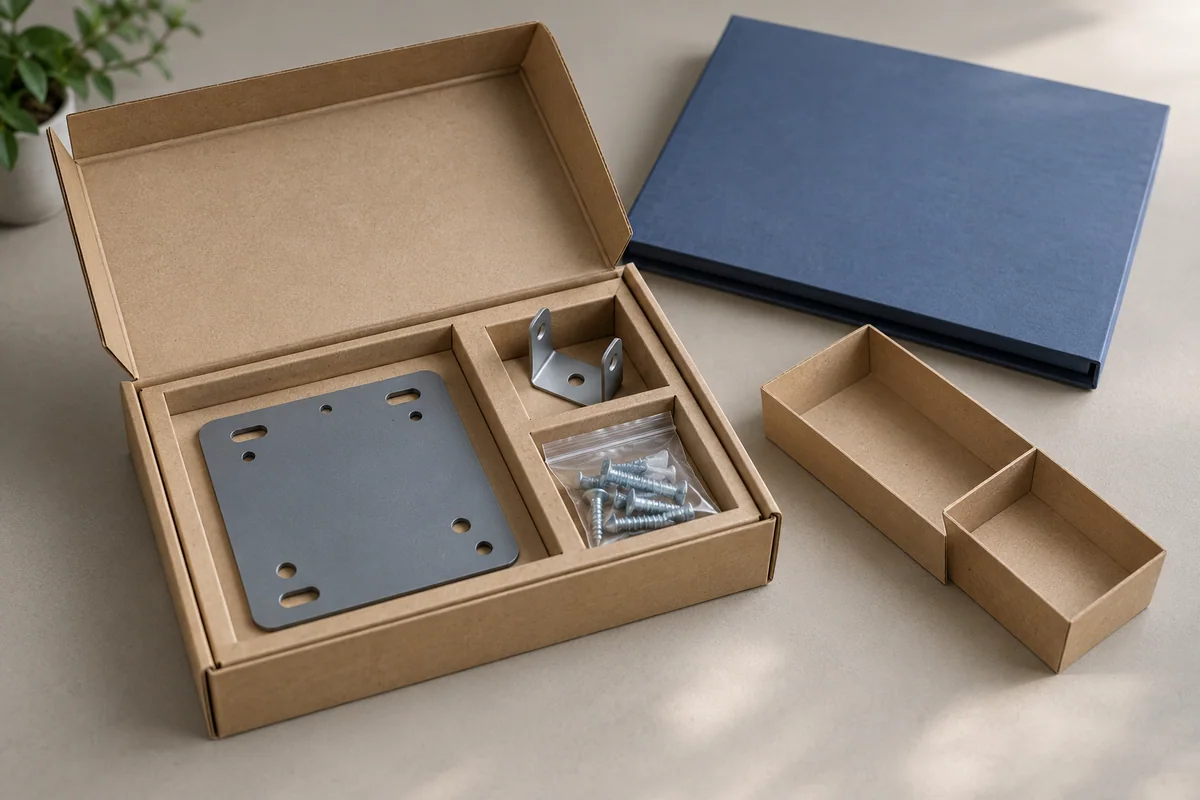
AI-generated editorial illustration Prepare a drawing-linked request for packaging around passive-part projections, with permitted contacts and unresolved support assumptions visible.
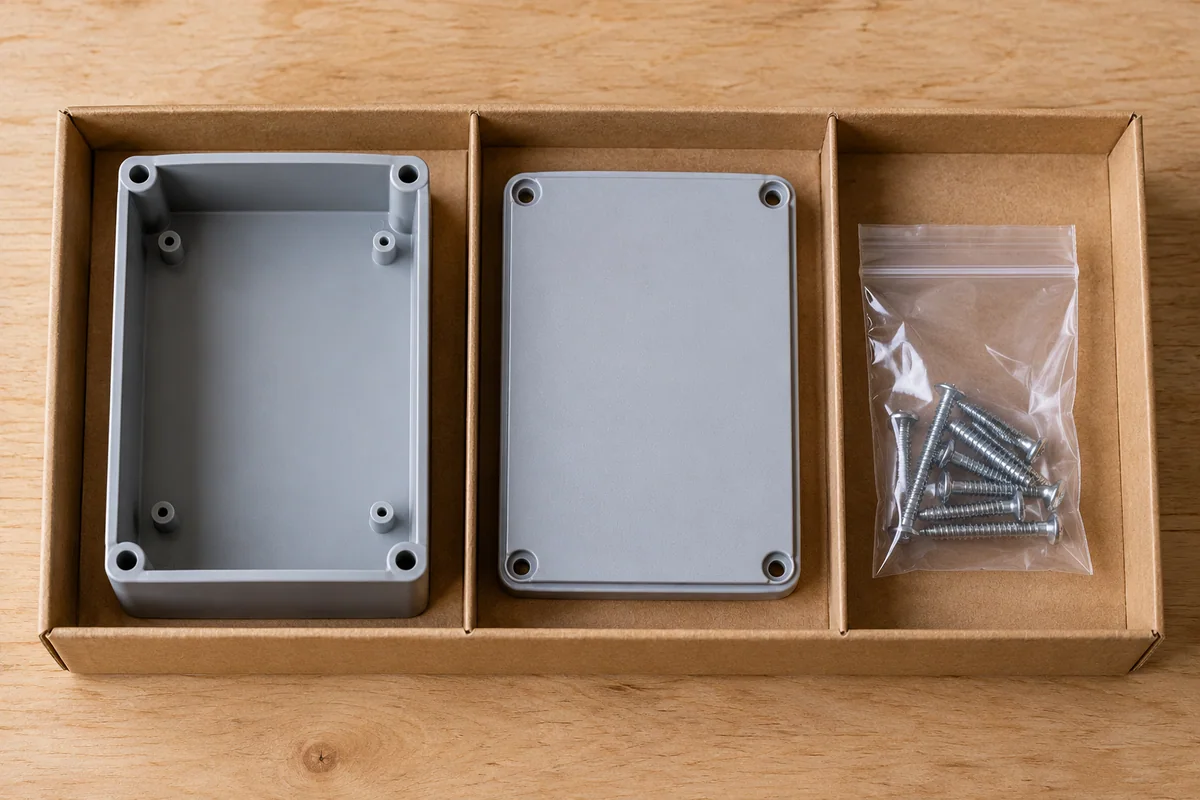
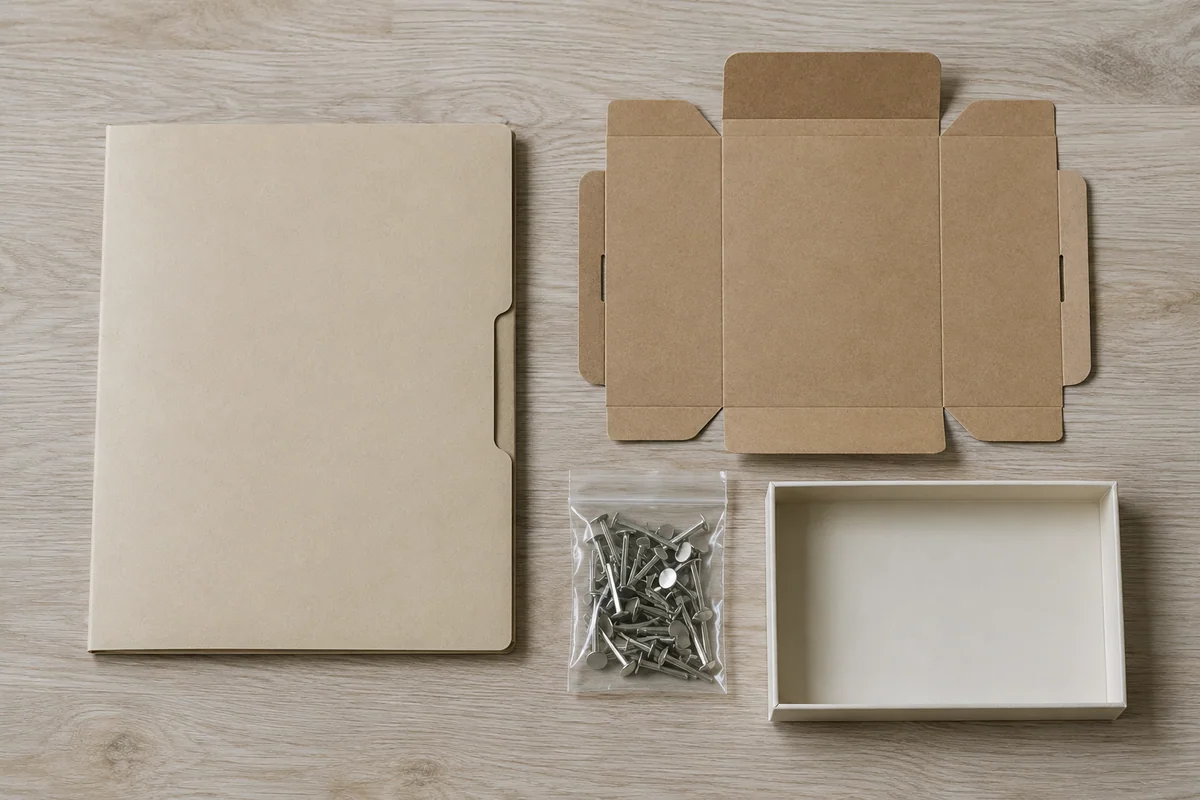
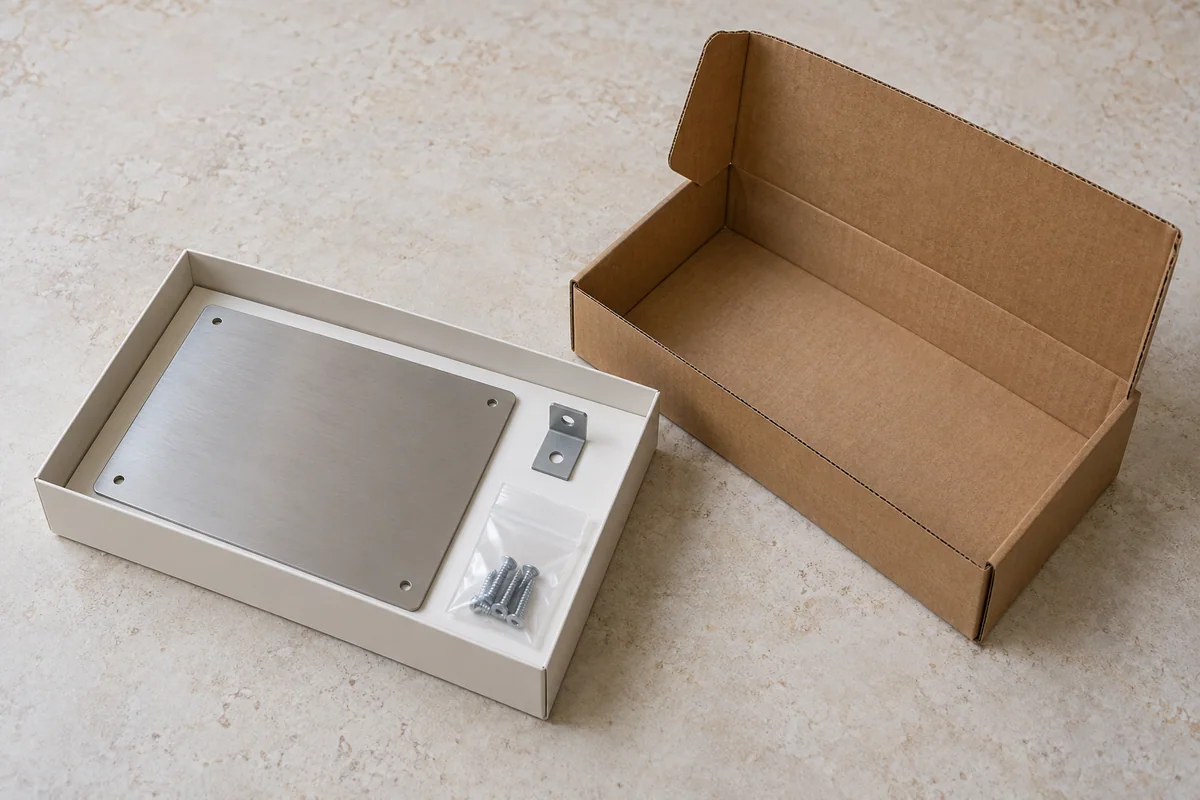
Read article: Ask for a Packaging Plan Around Passive-Part Protrusions → AI-generated editorial illustration Assign each empty enclosure body, detached lid and approved hardware pouch to a linked packing position without assuming interchangeable parts.
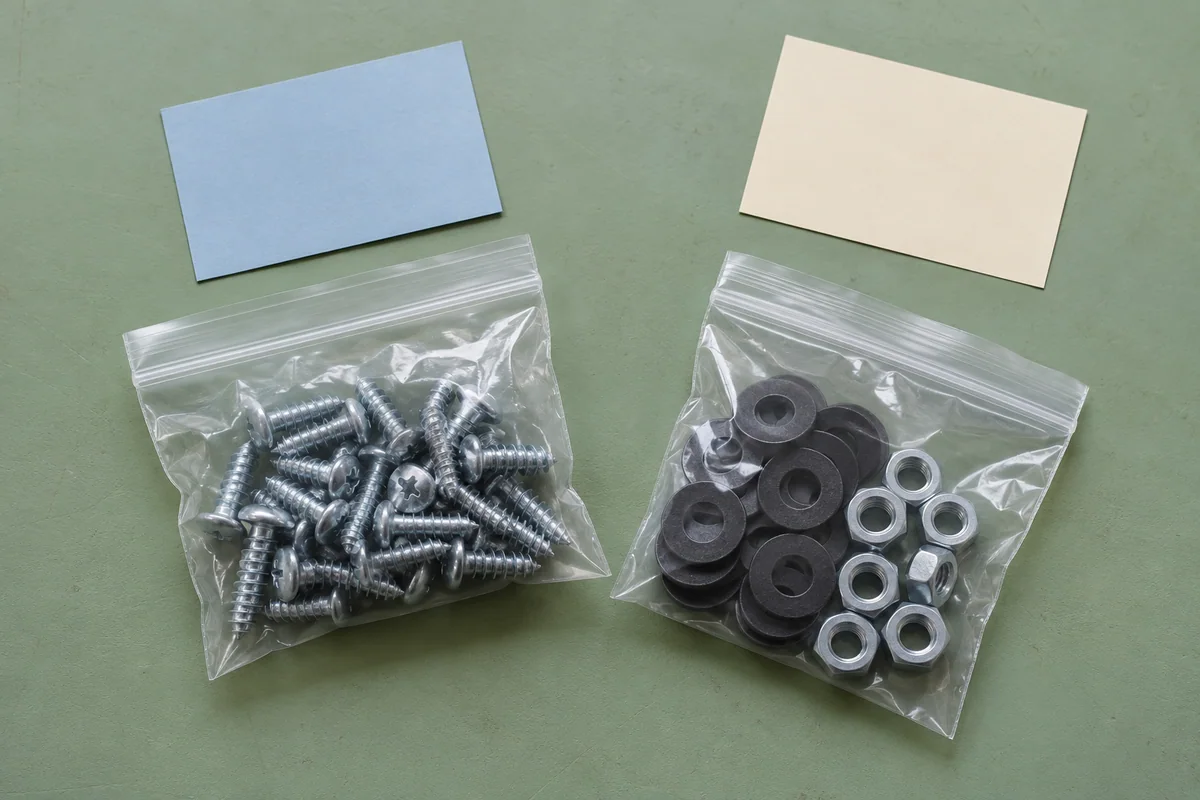
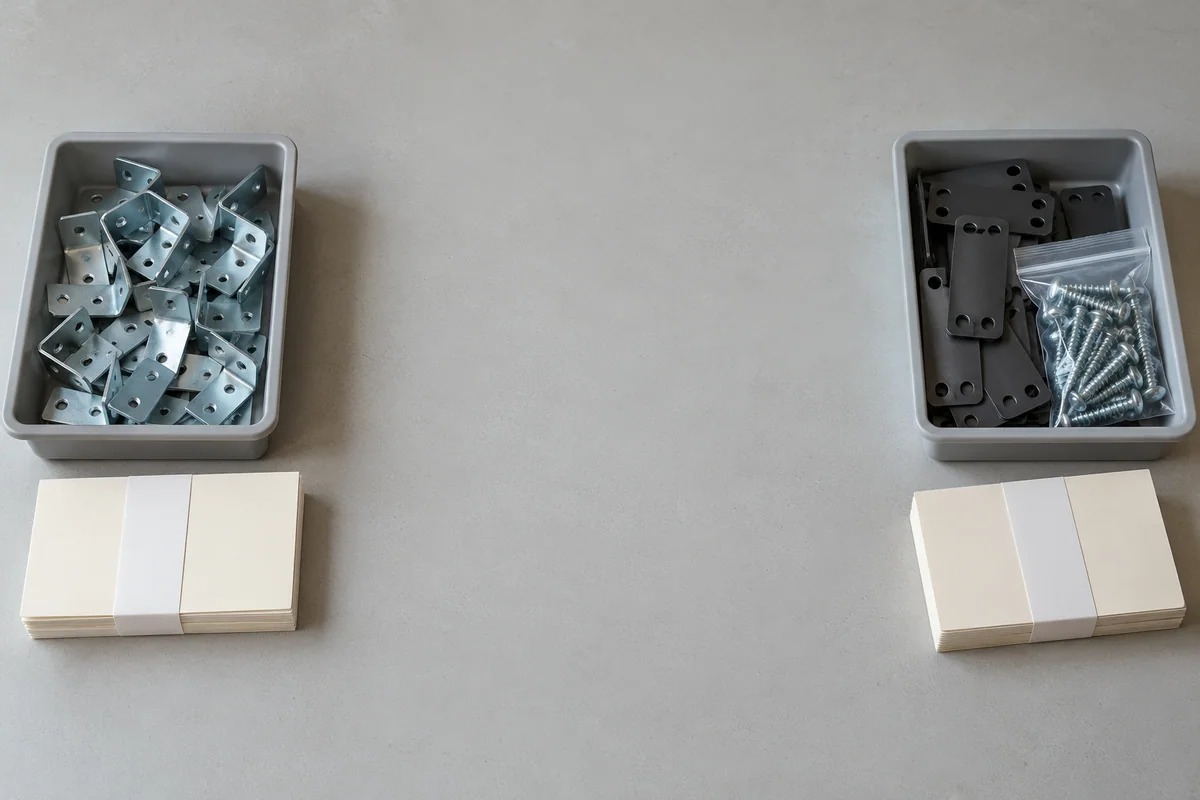
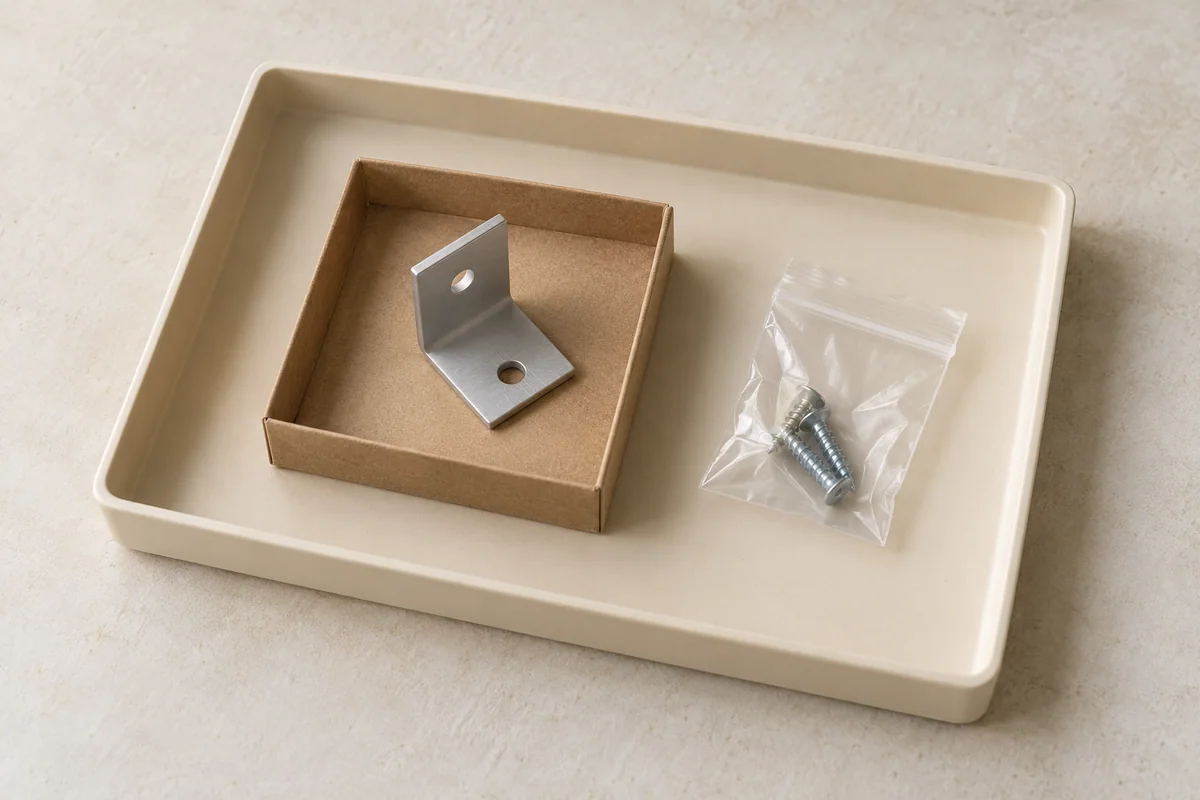
Read article: Keep an Empty Enclosure’s Lid and Hardware Associated in the Pack → AI-generated editorial illustration Create a pouch-to-instruction map that keeps approved fastener groups identifiable without inventing assembly steps or confusing totals with allocation.
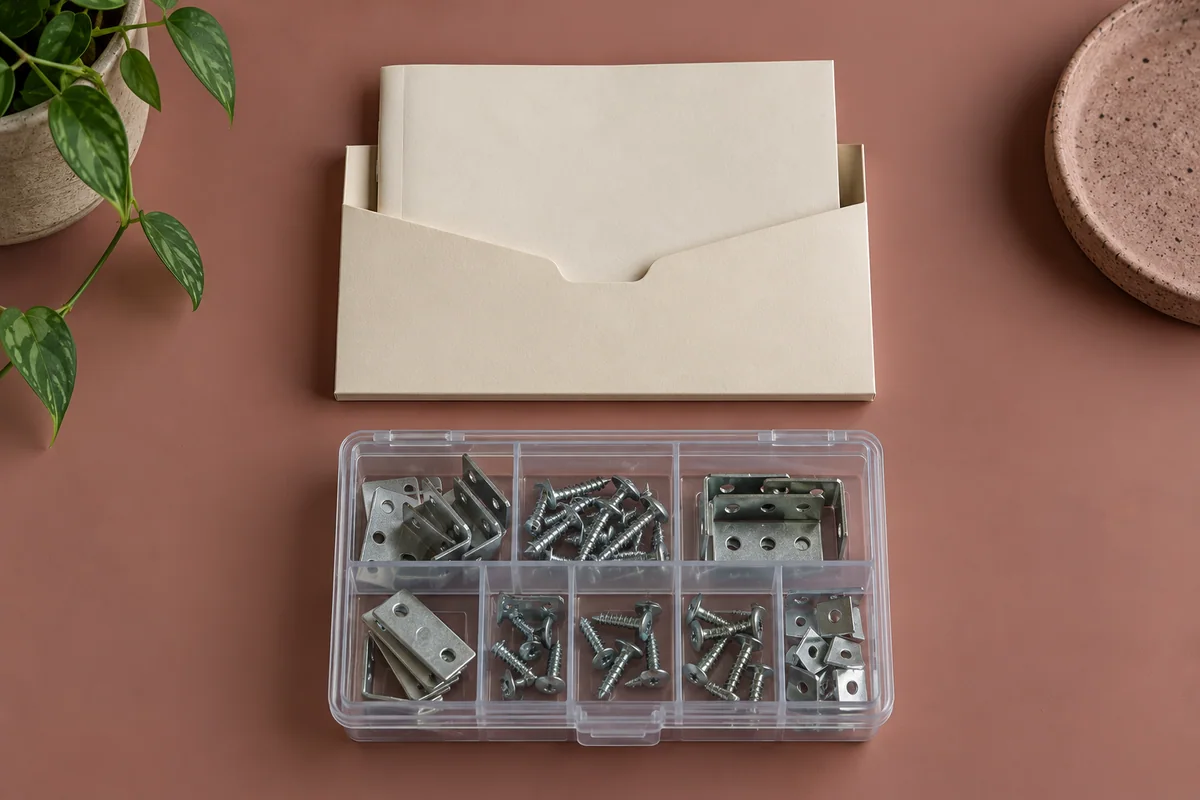
Read article: Group Passive Fasteners by the Buyer’s Approved Kit Stages → AI-generated editorial illustration Assign approved instruction files to each kit configuration and reserved insert position so recipients can find them without disturbing required information.
Read article: Place Approved Instructions Where the Kit Recipient Can Find Them → AI-generated editorial illustration Use a kit-version changeover record to identify old pouches, inserts and unfinished packs before starting the next approved configuration.
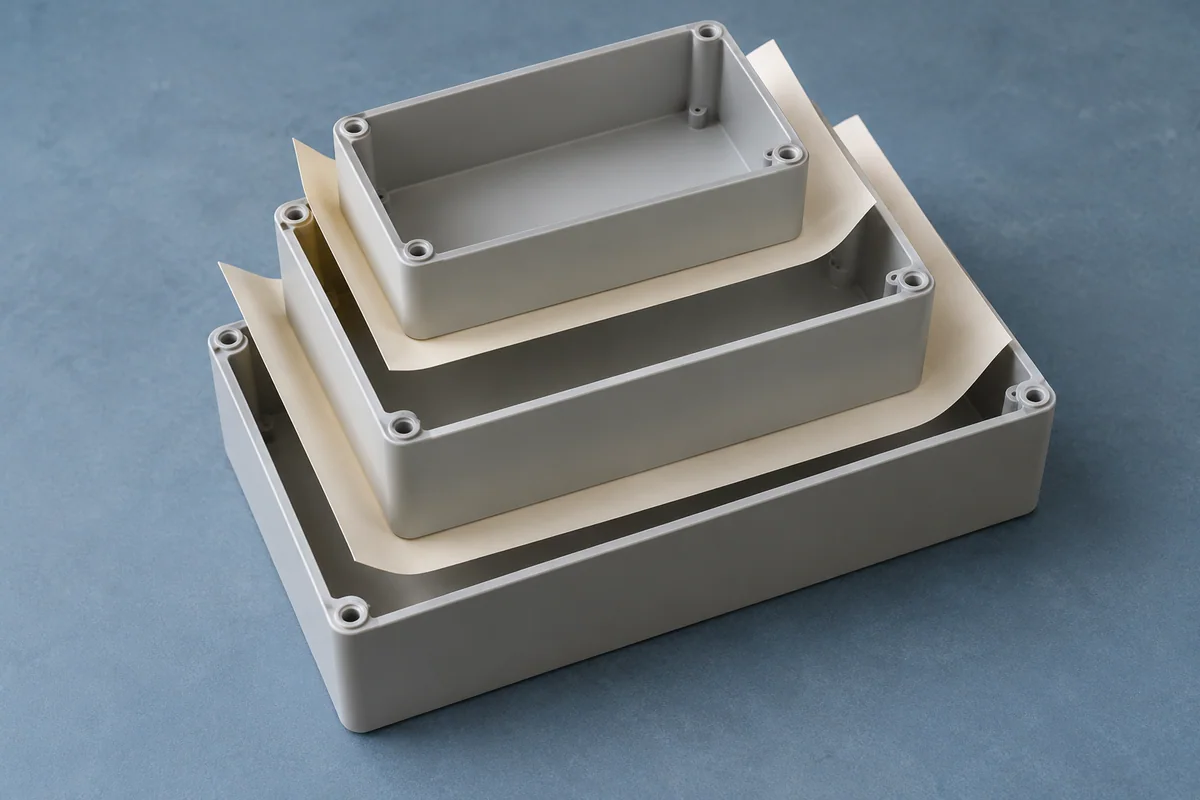
Read article: Control Leftover Components When Changing Kit Versions → AI-generated editorial illustration Map nesting orientation, protected contact zones, separator references and removal access before approving a plan for empty DIY enclosures.
Read article: Plan Separators for Nested Empty Enclosures → AI-generated editorial illustration Separate required contents, included optional extras and approved spares with a role-and-allocation sheet for each passive kit configuration.
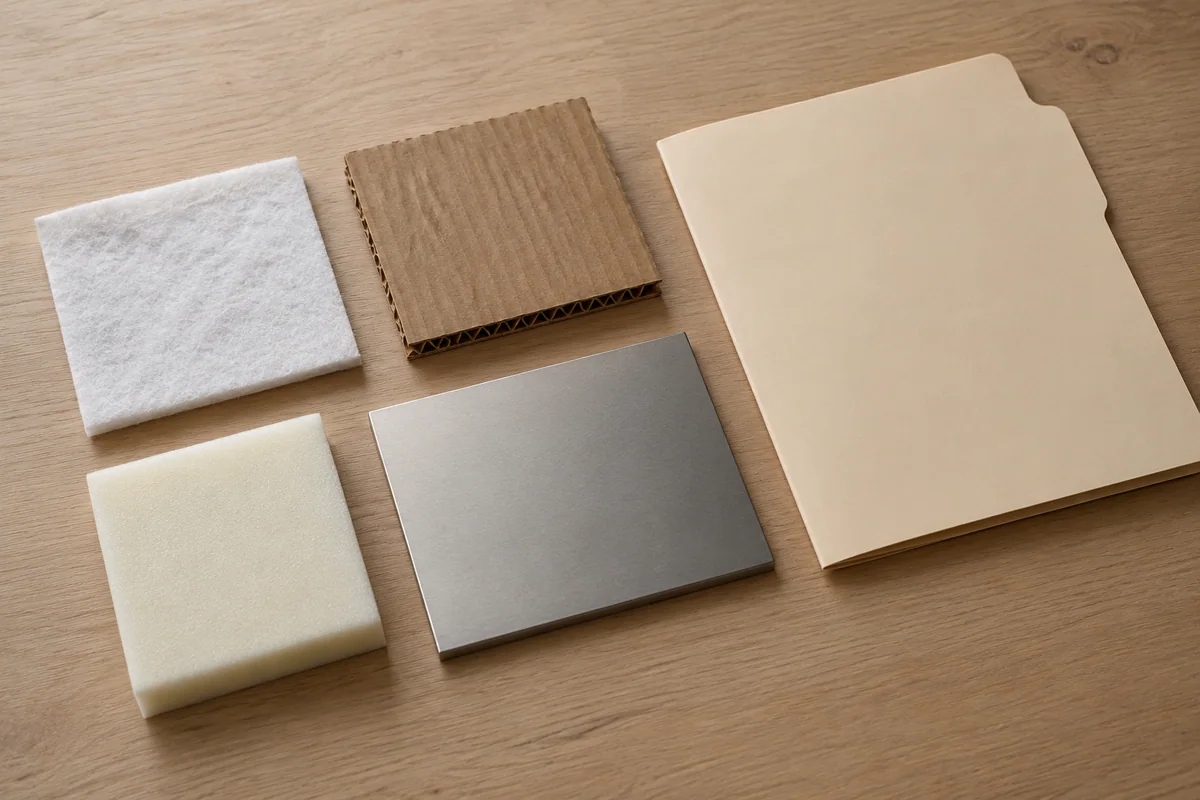
Read article: Keep Optional Extras and Spares Separate from Required Kit Parts → AI-generated editorial illustration Link each proposed pouch, foam, tape or interleaf to its exact product surface, stated contact conditions and evidence owner before material approval.
Read article: Request Evidence for Materials That Touch a DIY Product → AI-generated editorial illustration Record which packing features a mockup represents, which differ from the final plan and which performance questions remain untested.
Read article: Approve a Packing Mockup Without Claiming Transit Performance → AI-generated editorial illustration Issue one coherent packing packet that joins kit contents, layout, materials, approved inserts, exceptions and the packer’s acknowledgement.
Read article: Hand Over One Complete Packing Specification to the Packer → AI-generated editorial illustration Define one complete passive DIY kit with a package-level contents tree, explicit exclusions and quantities tied to the correct parent container.
Read article: Define What Belongs in One Sellable DIY Kit → AI-generated editorial illustration Give presentation and transport layers separate owners, evidence and approvals so an attractive kit tray never inherits an unsupported protection claim.
Read article: Separate Presentation Packaging from Transport Protection → AI-generated editorial illustration Identify existing protective layers, name the removal authority and record the required handover state before changing a passive product for presentation.
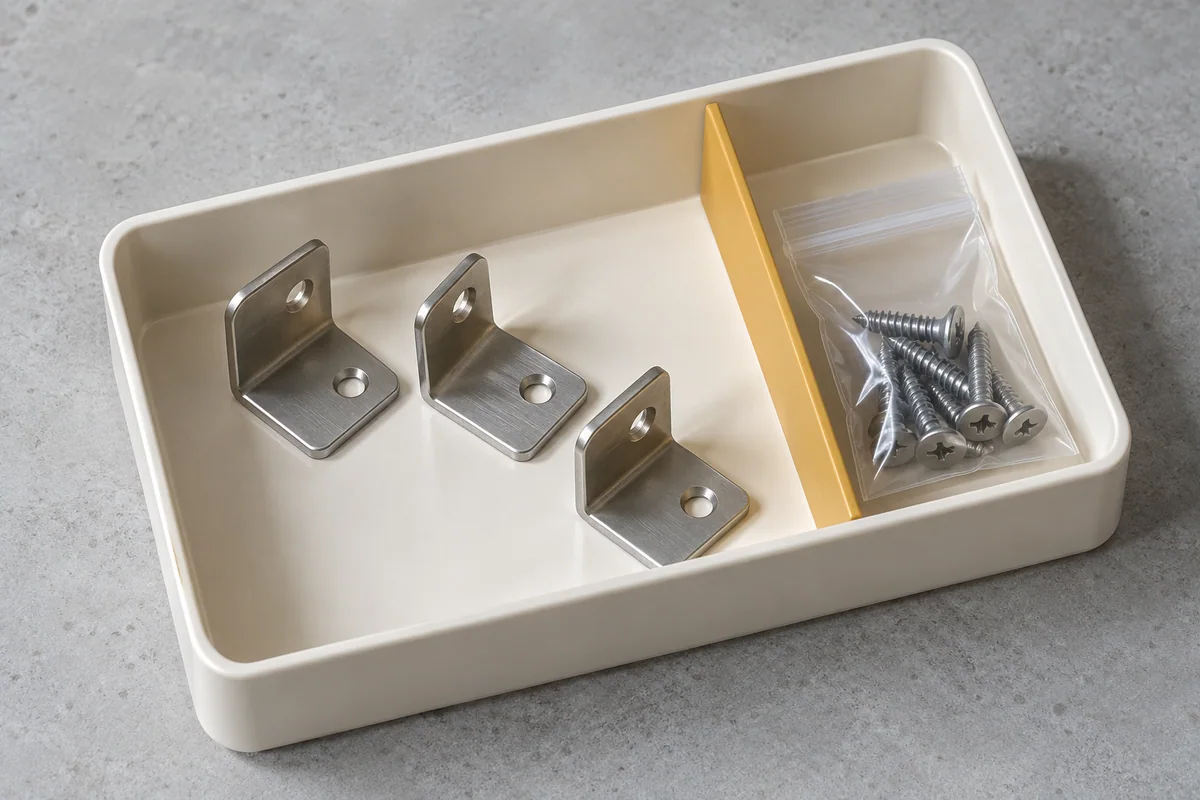
Read article: Agree Which Protective Layers Stay On Until Handover → AI-generated editorial illustration Define what a kit organizer should retain and make accessible after unpacking, with explicit limits on closure, material, cleaning and durability claims.
Read article: Define a Reusable Organizer as a Kit Deliverable → AI-generated editorial illustration Map protected faces and neighboring contacts before approving a separator, with material evidence and protection decisions kept explicit.
Read article: Specify Which Finished Surfaces Must Not Touch in a Pack →